
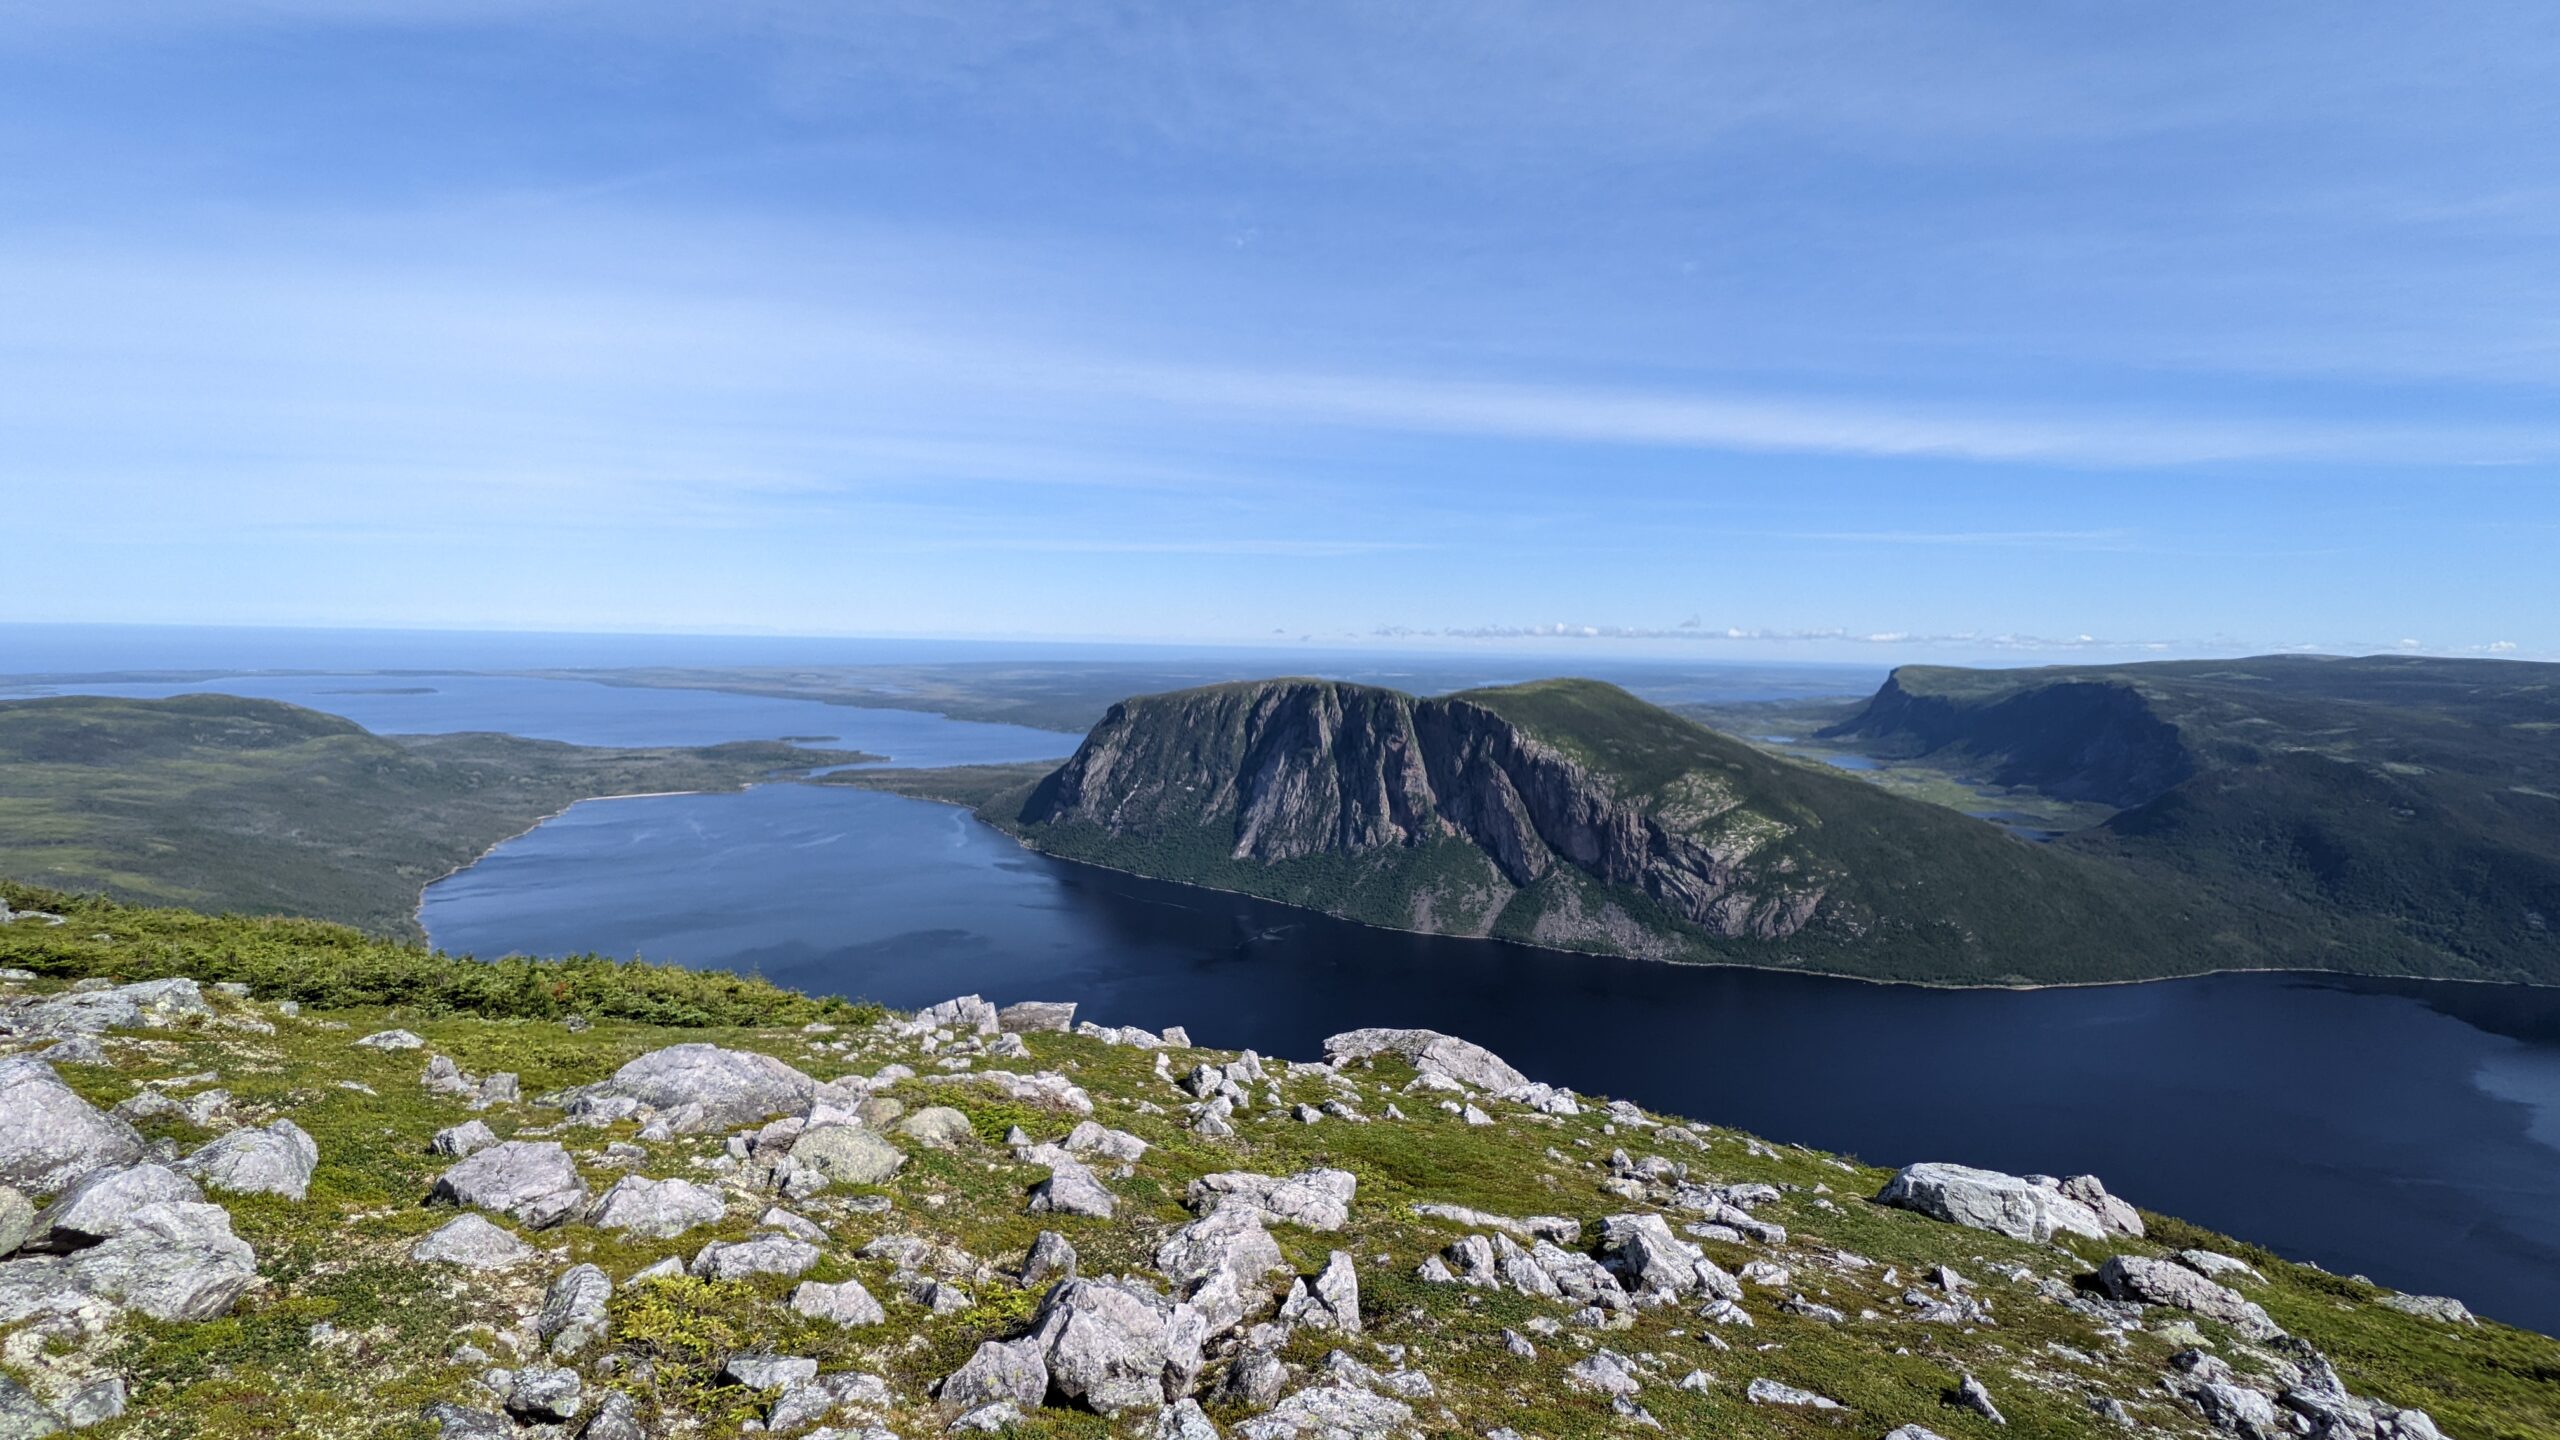
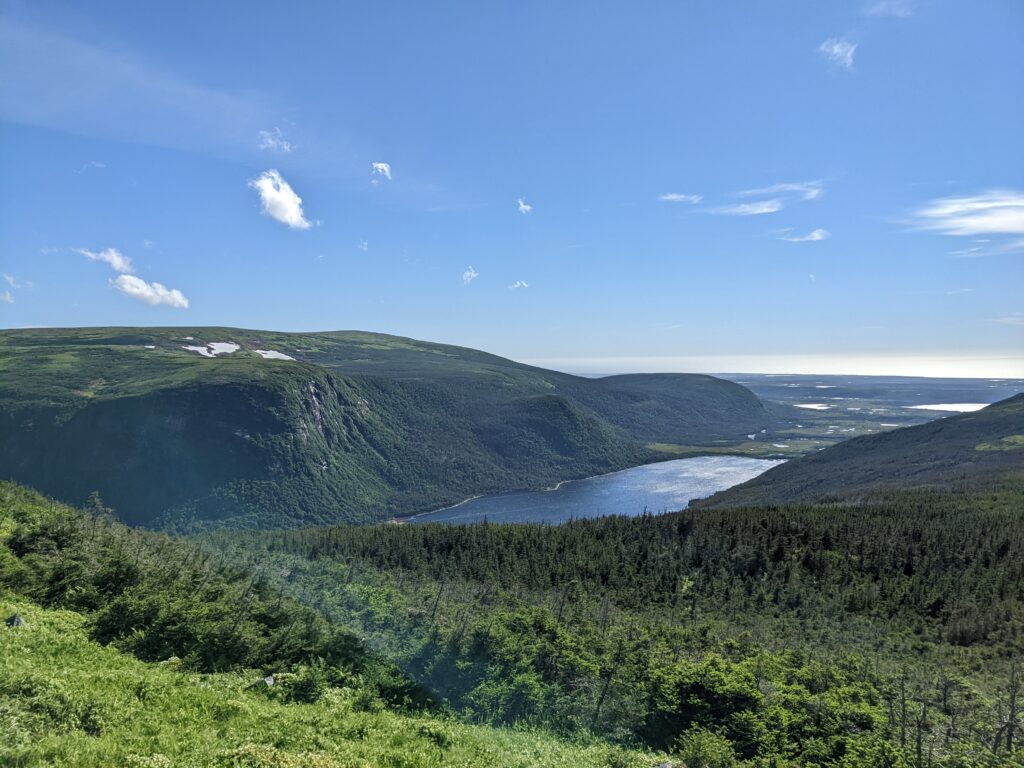
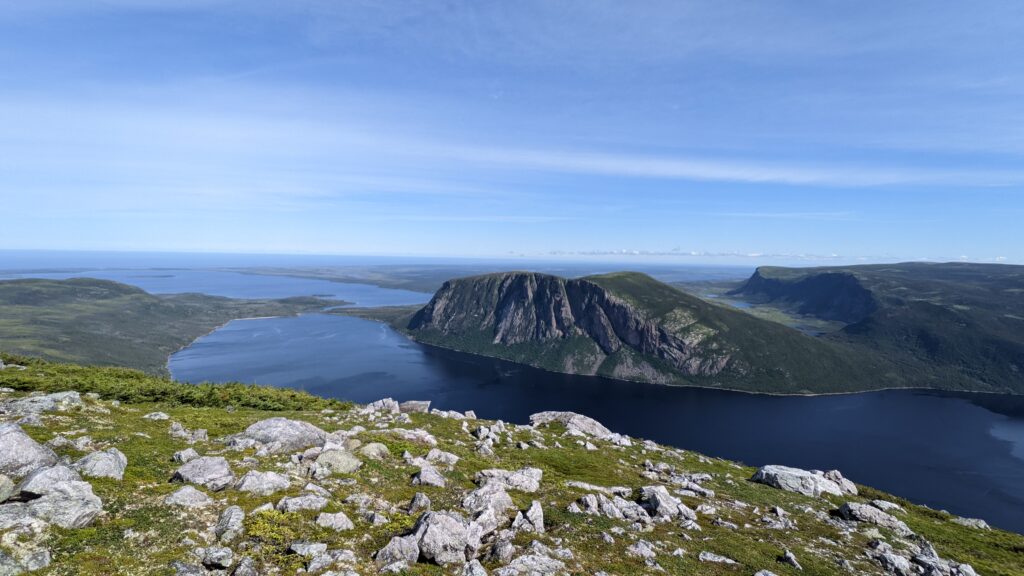
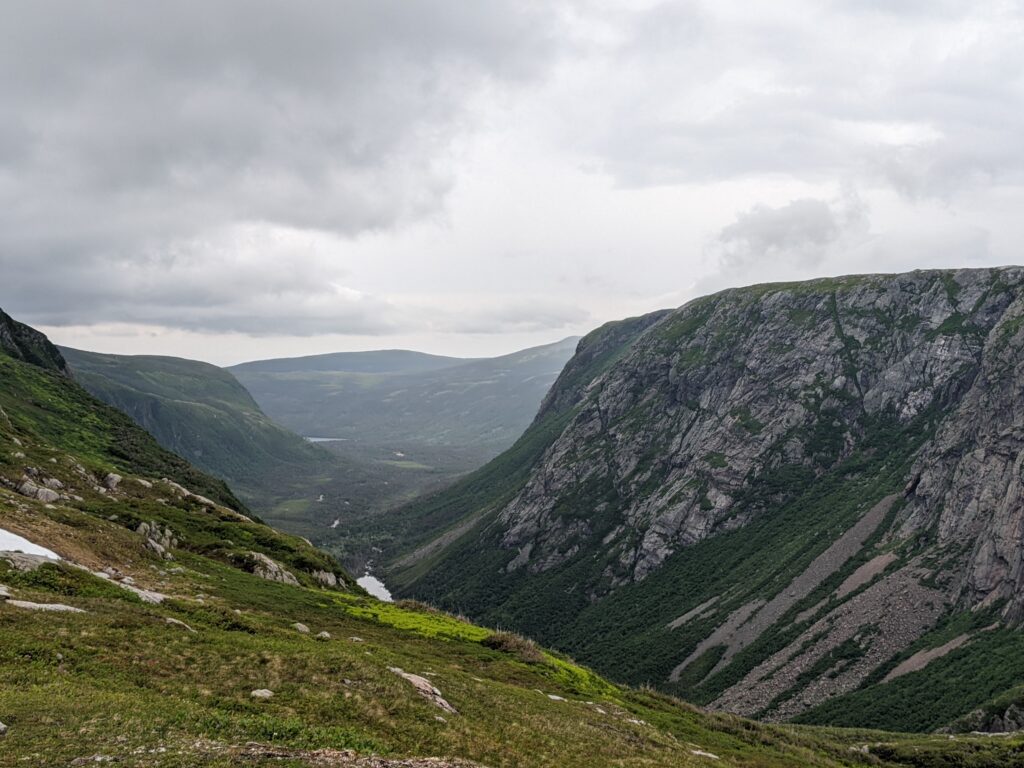
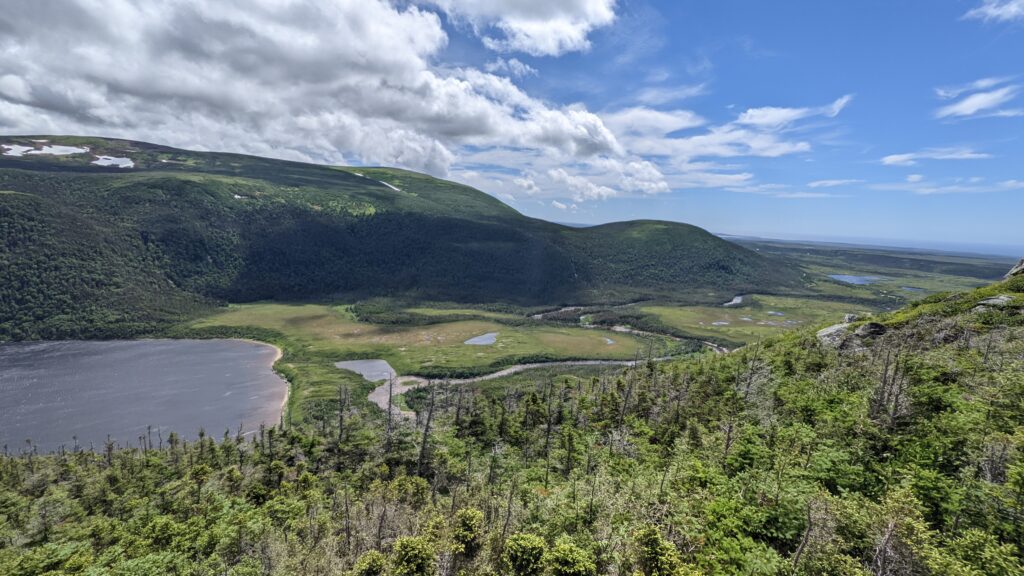
This was one of the most beautiful places I have ever visited. The wide open expanse, untouched nature, pure isolation, and sheer magnificence of this land creeps its way into your soul while circumnavigating a lonely fjord in Newfoundland’s Long Range Mountains.
WARNING: This trail is not for the unprepared. It was extremely demanding, and required excellent navigation and survival skills. It should not be attempted by anyone that has any doubts in their capabilities, and who doesn’t know when to turn back. Adequate gear, and more importantly, an adequate mindset, are necessary for this hike.
Background
I was flying to Newfoundland last summer to visit my best friend, and we really wanted to try out all of our new hiking gear. I had a used (but new to me) tent, a new pot, and a backpack with only 80 kms on it, while he had his new sleeping bag and backpack. Plus, it was just going to be the two of us and we thought it would be a great way to cut up the week’s other activities of playing through Halo: Combat Evolved on coop, driving around, day hiking the famous trails nearby, and trying to find some vegan food for me on the rock.
We originally decided to hike the Long Range Traverse in Gros Morne National Park, but one of our employers “forced” what days we could take off, and by the time we tried booking our required start date that trip was all booked up. I immediately began googling “long distance backpacking in Newfoundland” and found the International Appalachian Trail – Newfoundland Chapter (IATNL), with Devil’s Bite and Indian Lookout Trail catching my eye. I emailed the website owner to obtain the maps and GPS track, and was told to not attempt Devil’s Bite as several sections of the trail still required bushwacking. No problem, I thought. We’ll just do the other one! 45km isn’t so bad! This was at the tail end of Covid too, and despite all the chit chat and planning around crown land options near my home in Ontario, I had yet to go on a proper crown land hike and really explore the “very infrequently travelled” lands of Canada.
In general, this trail is a ~45km loop on Crown Land, which begins and ends at the base of the Long Range Mountains in Western Newfoundland. The trail starts at an elevation of about 115m, and climbs to a maximum of 665m. We had a total of ~2,020m of elevation gain/loss.
Our distances, travelling clockwise:
| Day 1 | 18 km | 970m |
| Day 2 | 20 km | 890m |
| Day 3 | 12 km | 220m |
| Total | 50 km | 2080m |
Arriving
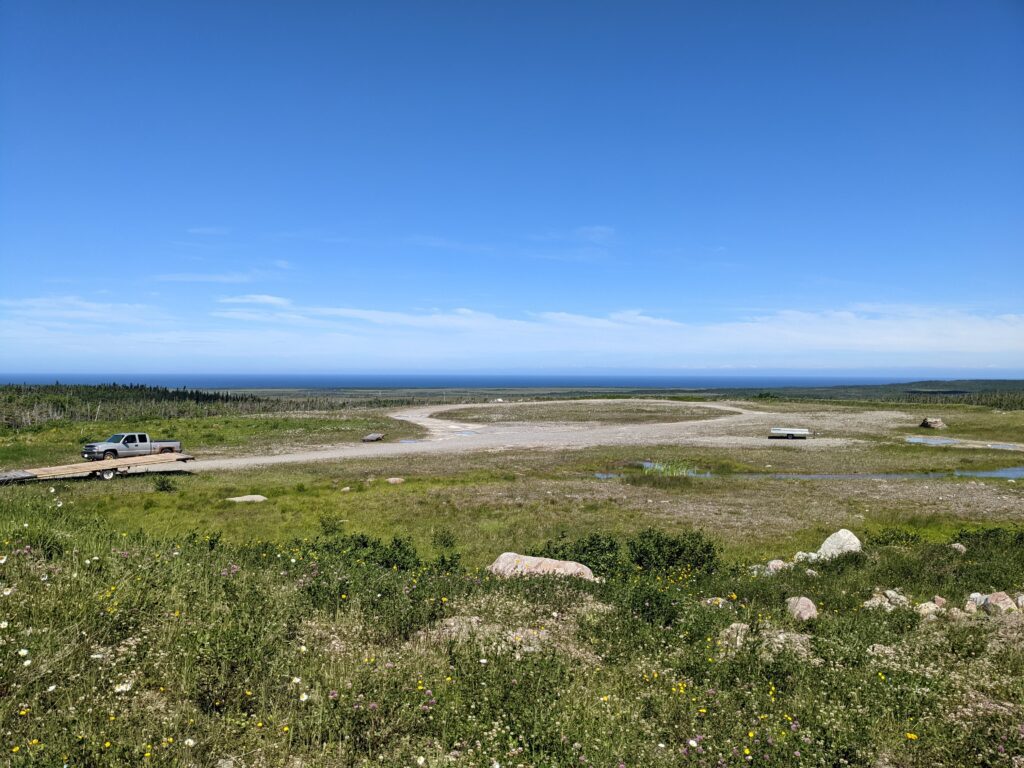
The trailhead is about 2 hours from Deer Lake, plus the travel time from the highway to the trailhead on a gravel road. This last stretch takes you past a handful of cottages, but the road is so atrocious that only the beefiest trucks, SUVs, and ATVs would ever be able to make it past the old oil drilling site. We had a small car and just beyond this site, it was absolutely impossible to drive any further. We opted to park at the drill site and hike the rest, adding about 6kms to our total length.
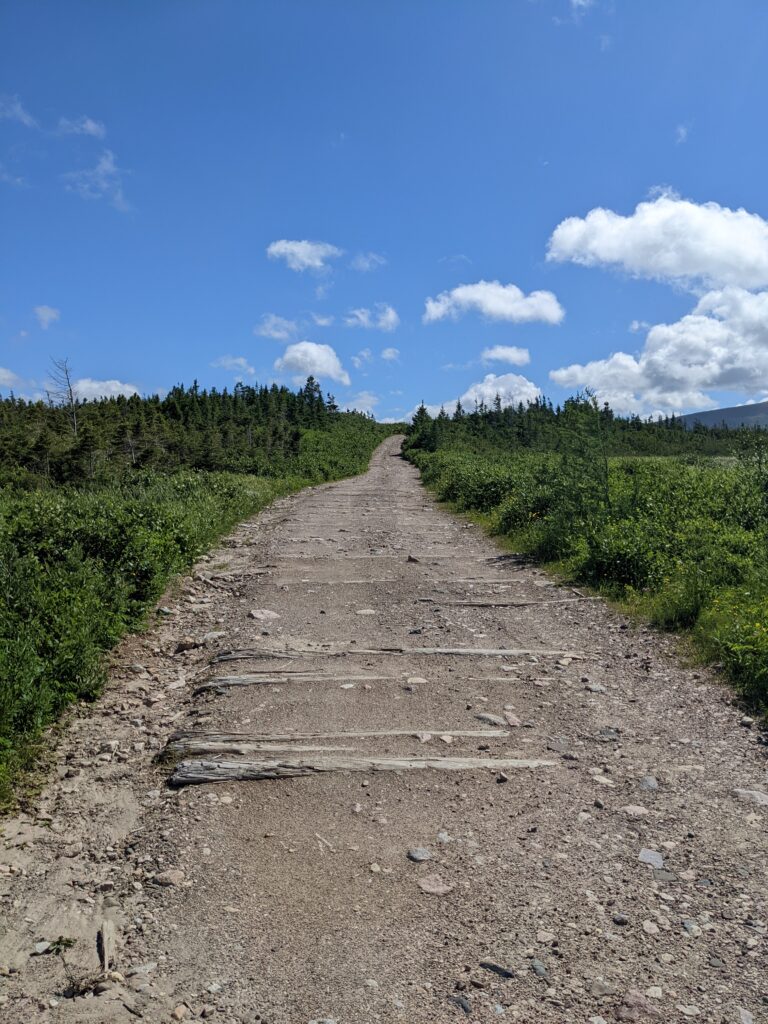

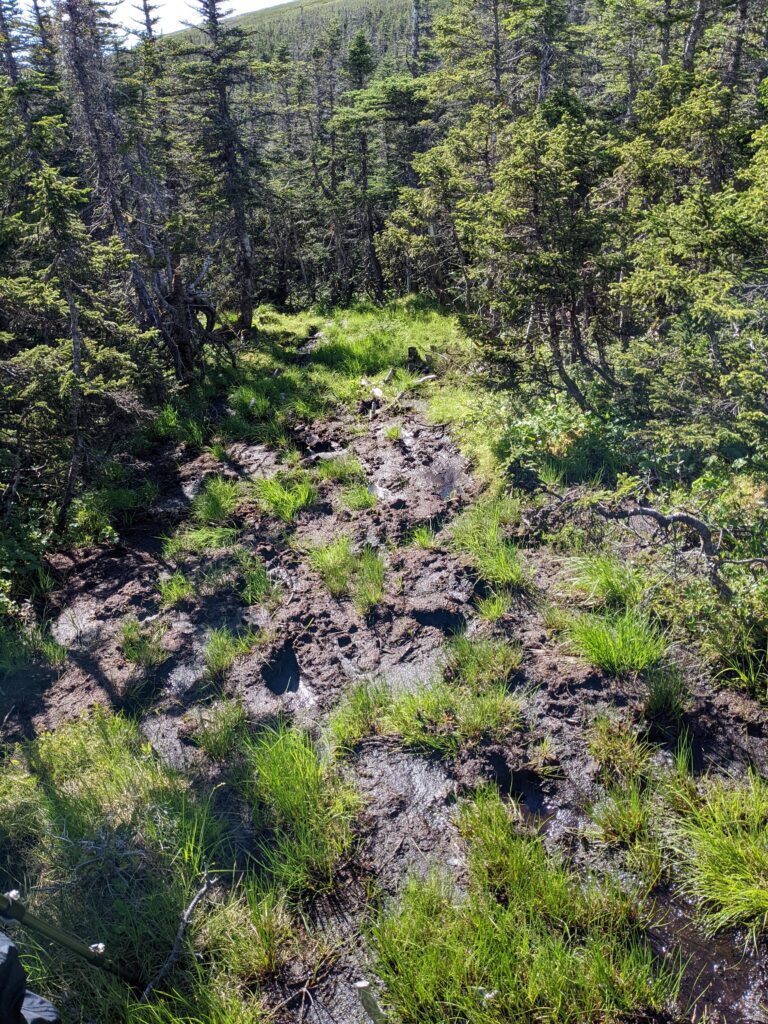
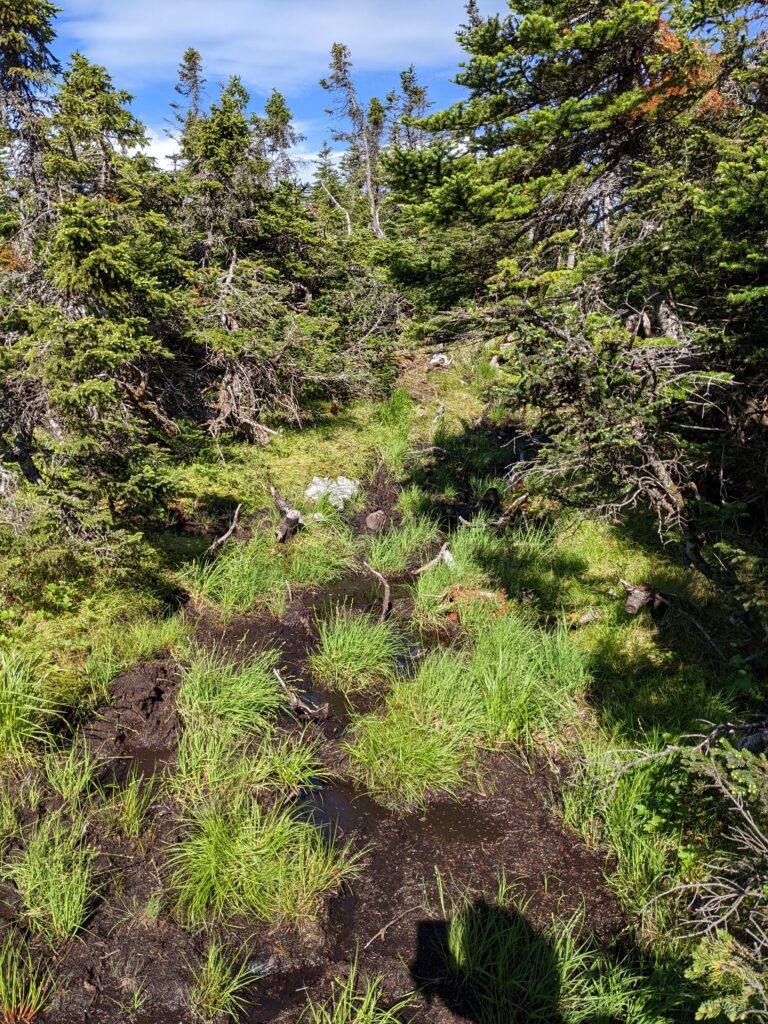
Trail Conditions
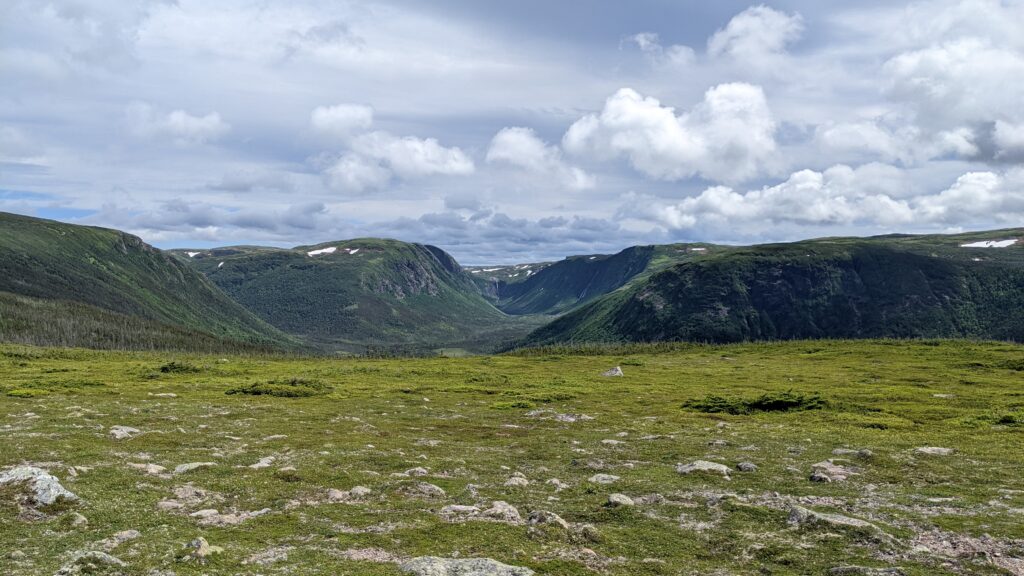
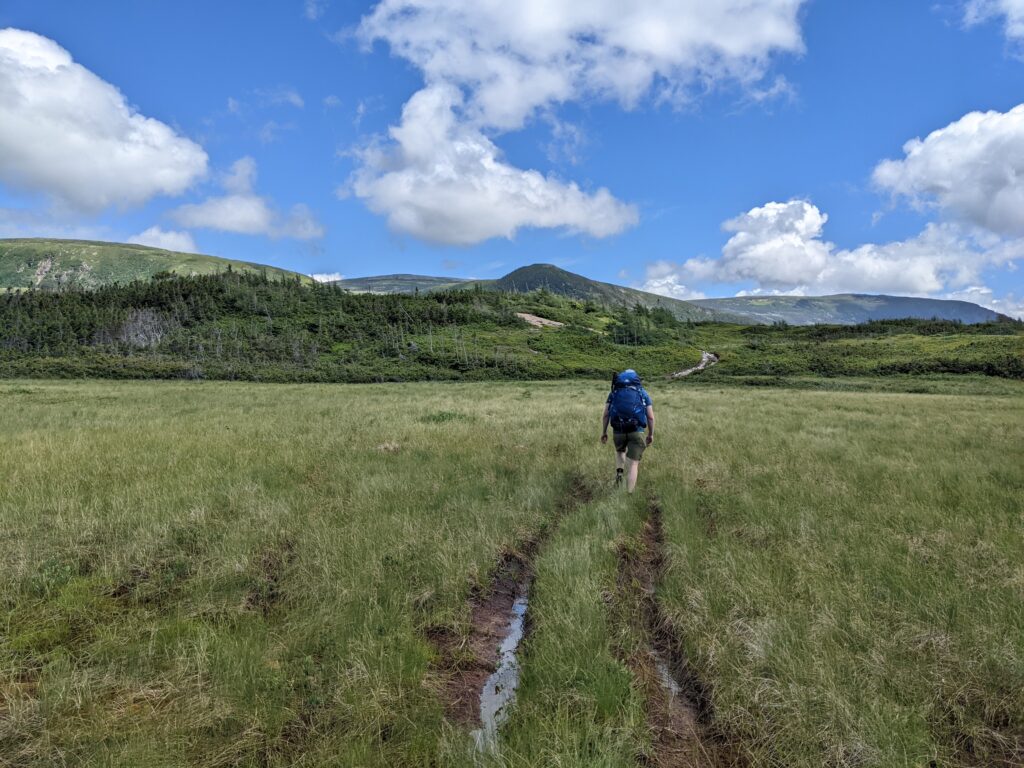
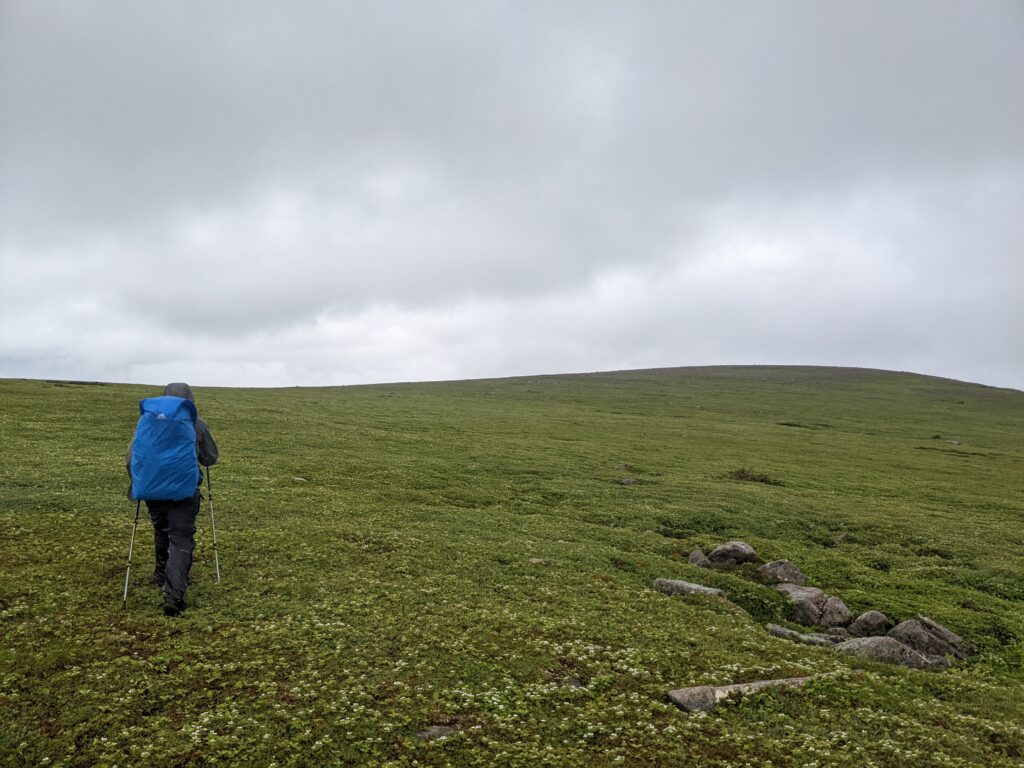
The trail is made up of groomed game trails, ungroomed game trails, open marshes, open landscapes of other vegetation, and exposed rocks and rock faces at the highest elevations. The “trail” has very few landmarks. There are the highest mountain points, the lowest rivers in the valleys, and a few lakes and streams in between. I got really good at reading the topographic map on my GPS, trying to eyeball hills and cliffs in the distance and judge where to go. We found that parts of the trail were moderately difficult to traverse, while others could be described as difficult, intense, or impossible. The sections that were entirely mud, the stiff vegetation at calf height, the unseen holes in the ground, the unexpected rock scrambling, and ankle-twisting rocky expanses. What I’m really trying to drive home here is that this isn’t a good candidate for your grandmother’s Bruce Trail hiking club. But even moreso, completing a thru-hike of the La Cloche Trail or Pukaskwa’s The Coastal Trail should not give you the confidence to hike this. Without more cairns and better defined trails, finding your way to the next landmark without a GPS was nearly impossible.

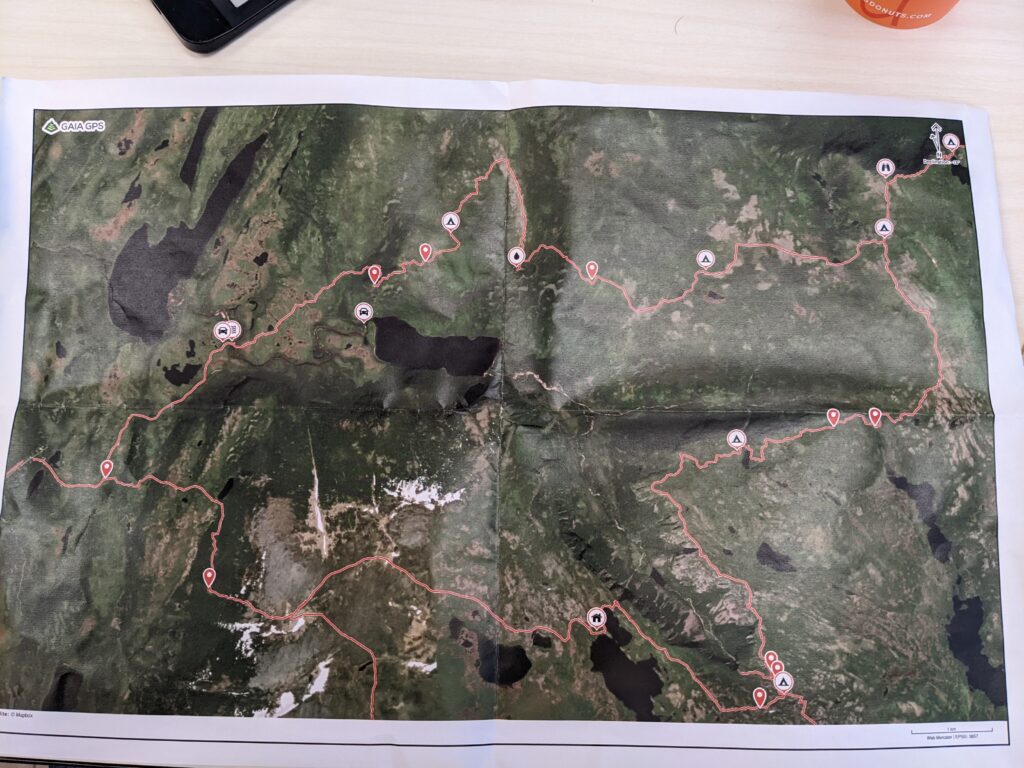
Navigation
To prepare for this, I truly studied the GPS track. I overlaid it with topographic and satellite maps in Gaia GPS, and highlighted different points of interest/campsites/water sources, etc. in the app. I also printed out several different versions of maps to bring with us in a waterproof case. In practice, the only navigation method we used on trail was Gaia GPS on our phones. I honestly do not think that navigating by the IATNL-provided map would be possible, as small deviations in direction would completely derail you from the intended trail. And luckily, there were two of us and we could take turns staring at our screens, leading. Surprisingly to me, staring at your phone to find your way is very mentally taxing, and to navigate the whole trail solo would be exhausting to the point that I would plan on taking at least another two days to complete this hike.
There are also many, many obstacles, including thick vegetation, small cliffs, and marshes that need to be avoided. The GPS track generally helps you around these, though some areas will need to be navigated using your best judgement. Less than half of the trail was “defined” in the traditional sense. During the hike, I’d say that we found less than 30 trail markers, and most of them were within the first and last few kms. It was an exciting moment to find one, as it was a great indication that we had actually found our way!
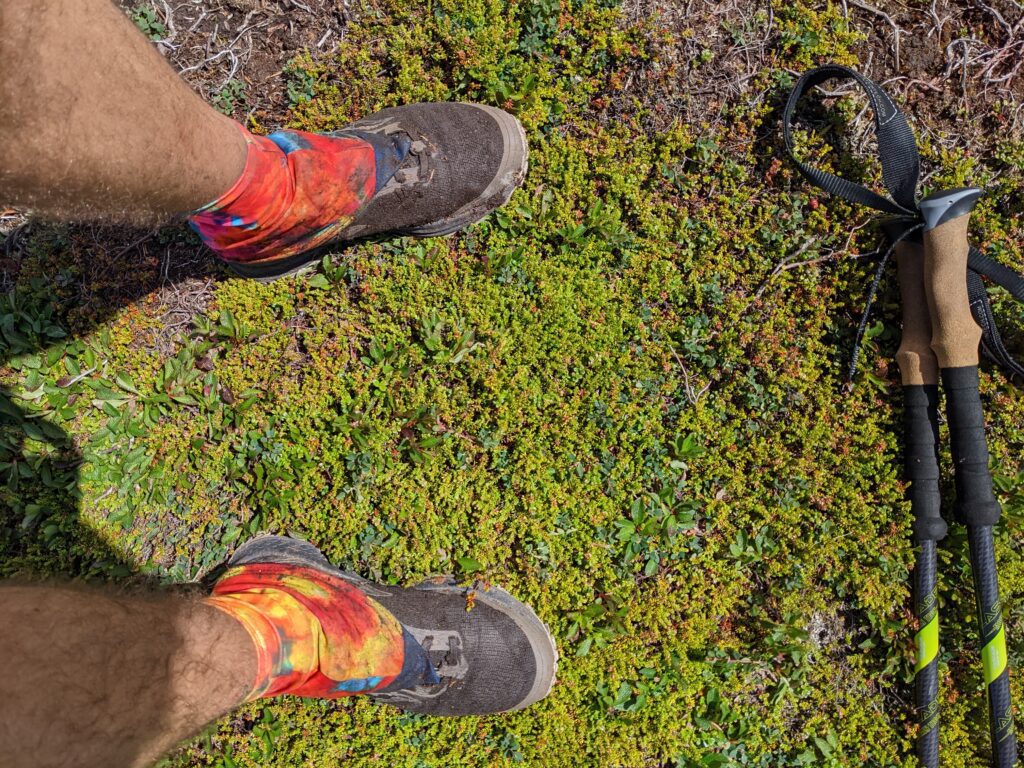
I found several rips in the fabric of my shoes while cleaning them afterwards, leading to my next point:
Gear
Your gear will take a beating. I do not recommend the classic thru-hiker gear of light trail runners, dirty girl gaitors, and running shorts. Even on a hot, dry day your feet will get soaked multiple times with this setup. The damage to my trail runner shoes wasn’t significant, but it certainly was unnecessary. A sturdier boot or hiking shoe would have held up much better against the sharp, jagged ends of the thick brush that covers much of these hills. If you want dry feet for the entire hike, I would recommend you use a high-ankled hiking boot, with a gaitor that you won’t mind sacrificing to the branch gods, and a sturdy pair of pants to match. Unless there has been a significant dry spell, you will step into mud or puddles that go halfway up your calf. After several hours of accumulating scrapes and cuts on our legs, we threw on our rain pants to protect our battered legs. Unfortunately, one of them quickly got a rip on the first day (but has since made a full recovery with some gear tape).
Quick note about footwear – despite your best planning, your feet may just get soaked. We walked right through a river on Day Two. We decided on this because the rain, the intense water flow, the waterfall just downstream, and the wet and sparsely-placed rocks across this river. There was no way we were going to try and boulder hop across, and decided that the safest way across was to walk right through. If it hadn’t been raining, we could have taken our gear off and walked across, but the conditions and our exhaustion just did not allow for that. This is a long-winded way to say that your super-dry outfit might get wet, and if it does, it will be difficult to dry out. Our trail runners got wet, but they had a better time breathing and airing out overnight than a hiking boot would have, but our feet were definitely wet most of the time with some moments of relief.
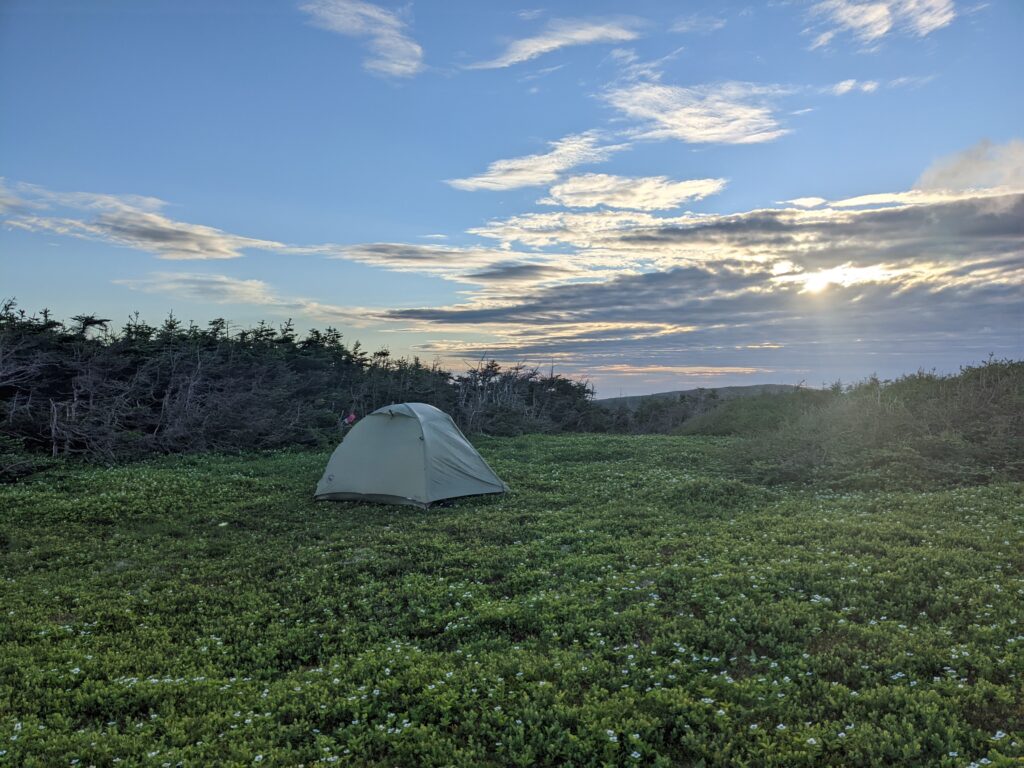
The high winds also concerned me a lot for my (used, but new to me) tent, a Big Agnes Copper Spur UL 2, which was pretty tight for two grown men. The weather forecast said 30km/h winds with 60 km/h gusts in the area, and I wouldn’t be surprised if it could be much higher on top of the mountains. Luckily, the wind died down that first day and we found a sheltered clearing for us to set up in. The tent still flapped a lot that night, which kept me up much more than I expected.
Water sources are frequent enough that you can get by with carrying only two liters, but you’ll need to look at the map ahead of time and plan to top up your bottles before any dry stretches.
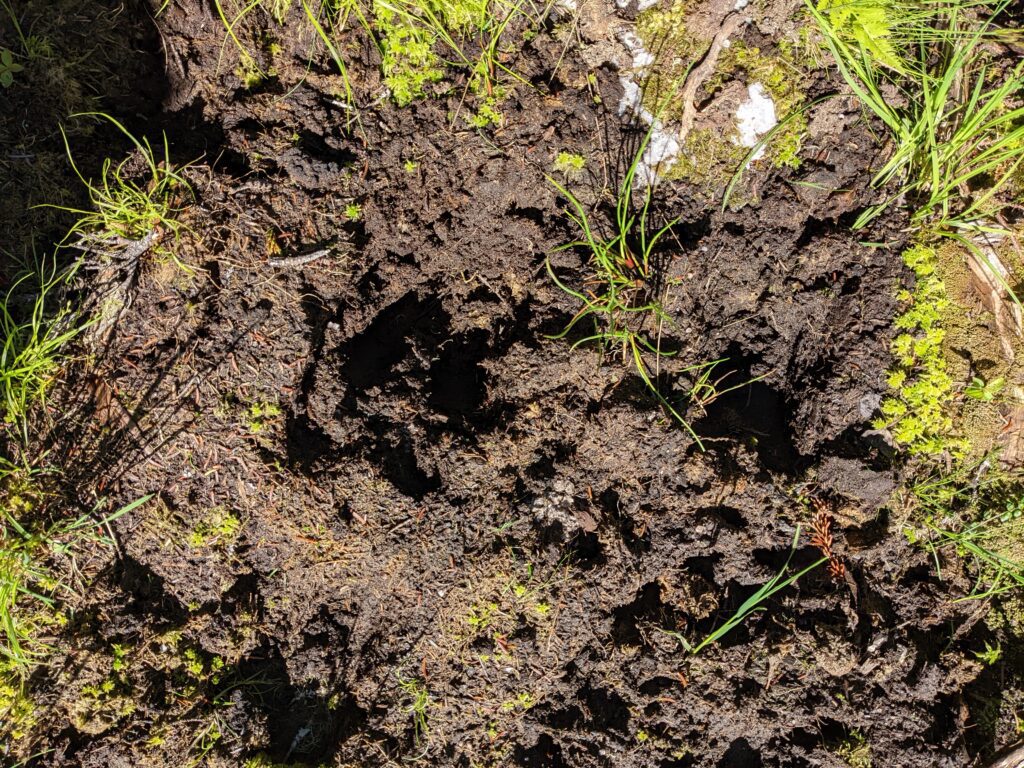
Wildlife
I have never seen so many animal tracks and droppings before in my life. Partly because we were on so many game trails, and partly because they must be so plentiful here. Moose, bear, and caribou signs were everywhere, but the only large animal we saw was a lone, bull moose grazing in the distance. A lot of “Hey bears!” were called out to avoid the rascally critters.
Because of the animals, proper bear and animal safety is required. We took the BV500 bear vault for our food and smelly items, kept a clean campsite, and had no issues. Any location that you’d actually like to sleep at on this trek probably doesn’t have any trees, so you will need a bear vault or similar bear-proof container for your food.
The bugs were at bay for our first day with the high winds, but they stormed us the next day. We found a bunch on top of Indian Lookout, and the two river valleys that feed the pond were full of them with no escape. When they were there, the black flies, house flies, and deer flies were as intense as The Blackfly Song would make them out to be.
Conclusion
I really want to impart that this is an unmarked trail. There is no park office, there is no one to clear downed trees, and in many places there is literally no trail. Navigation was extremely difficult, and we would have turned back if I didn’t have the right Gaia GPS maps, a premium subscription so I could download them to my phone, and the knowledge to figure it out as we went along.
Whatever mileage you think you could do in a day, assume that you can only do about 70% of your max on this trail. We did not put up big miles, but we were smoked at the end of all three days.
There were a few moments where I wanted to quit upon seeing another steep uphill ahead of me, and if there was another option, I may have! My hiking buddy was a trooper though, and always seemed to have the energy to press on when mine was waning. Again, this is a great hike to do as a team. We were very lucky that we didn’t encounter the wrong animal at the wrong time, that we didn’t have horrible weather, or any some sort of injury while out there. Despite cell service being available for up to half of the hike, please bring a GPS transponder to call for emergency services.
To justify why I thought I could handle this trek, my preparation stemmed from several years canoe tripping as a kid in Scouts, as well as hiking the Pukaskwa Coastal Trail and the La Cloche Trail in Killarney Provincial Park. I am also decently fit, and at the time I was weightlifting mobility training long-distance hiking last summer.
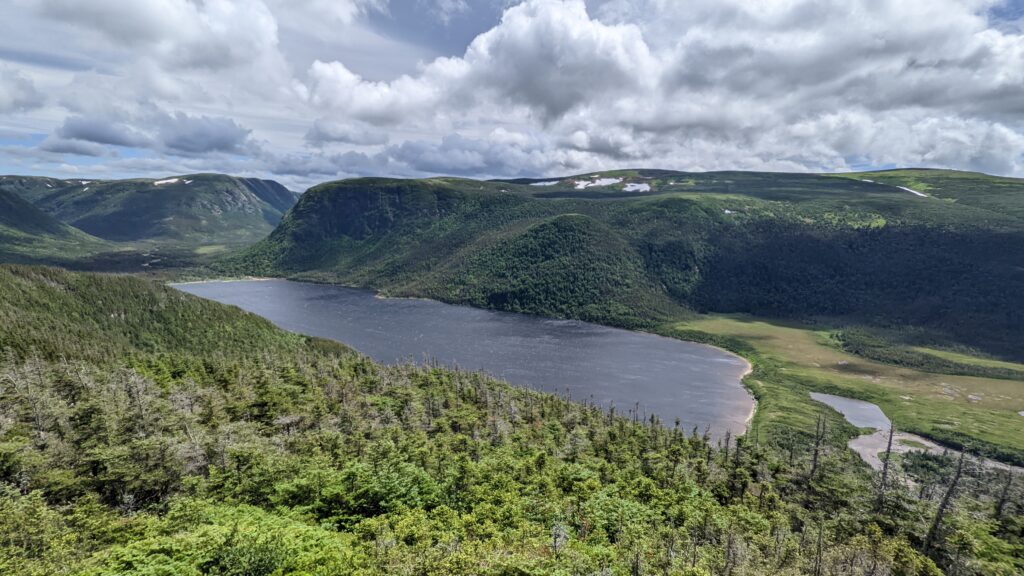
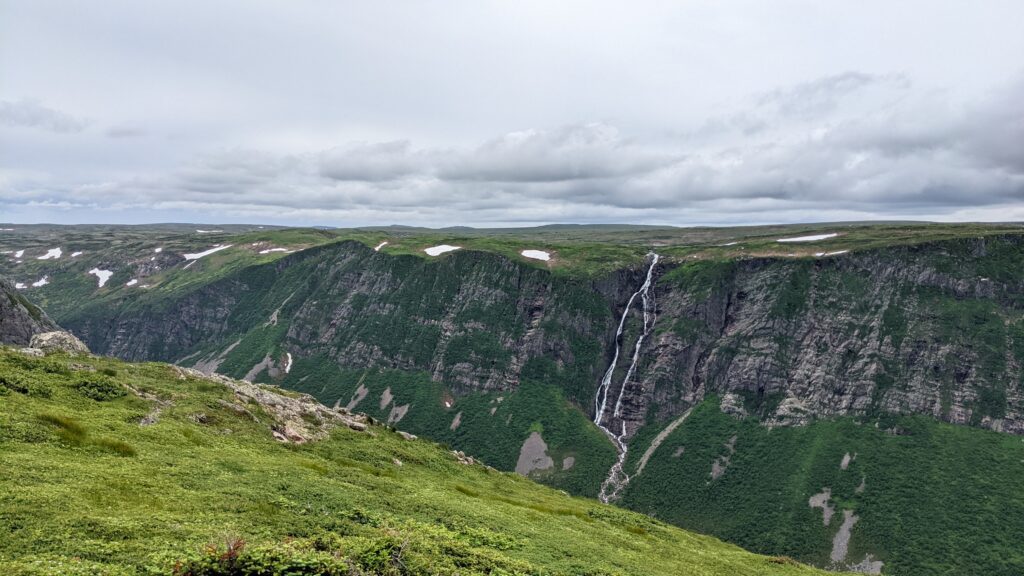
Despite the difficulties, this hike will reward you with stunning views of mossy mountain tops, steep cliffs, gushing waterfalls and thick forests. You may even see bears, moose, and caribou herds along the exposed mountains. Depending on your comfort level, you can even extend the hike so you spend more time along the plateaus of the Long Range Mountains, adding a large loop to the southern half of the trail. The area was completely devoid of other people, and I would recommend this hike to someone that is both an experienced hiker and backcountry survivalist, who wants both a mental and physical challenge from their next trek.
Wow, this is amazing Jake!